To repair your iPhone 12 ear speaker and keep Face ID functioning properly, follow these steps. Start by carefully opening the device to access internal components.
When replacing the ear speaker, make sure you have the right tools, remove it gently, and solder the new one securely.
After reassembly, check all connections, test the sound quality, and verify the Face ID and other features work smoothly.
Successfully maintaining Face ID while repairing your iPhone 12 ear speaker involves meticulous steps to guarantee a seamless repair process and functionality.
Read Also: Fix My Speaker – Remove Water from Speakers in 1 min 14 sec
Key Takeaways
- Disconnect ear speaker without affecting Face ID components.
- Ensure Face ID connectors remain intact during repair.
- Solder new ear speaker while preserving Face ID functionality.
- Test Face ID post-repair to confirm it still works.
- Reassemble iPhone 12 carefully to maintain Face ID.
Preparing Iphone 12 for Repair
Removing the pentalobe screws from the bottom of your iPhone 12 is the initial step in preparing it for repair. Once the screws are out, place your phone on a heat mat set at 69 degrees for 10 minutes to soften the adhesive. This process aids in safely opening the device without damaging the screen.
Isopropyl alcohol can be used to further ease the adhesive. To separate the screen from the chassis, carefully insert a guitar pick around the edges. This method helps release the screen without causing any harm.
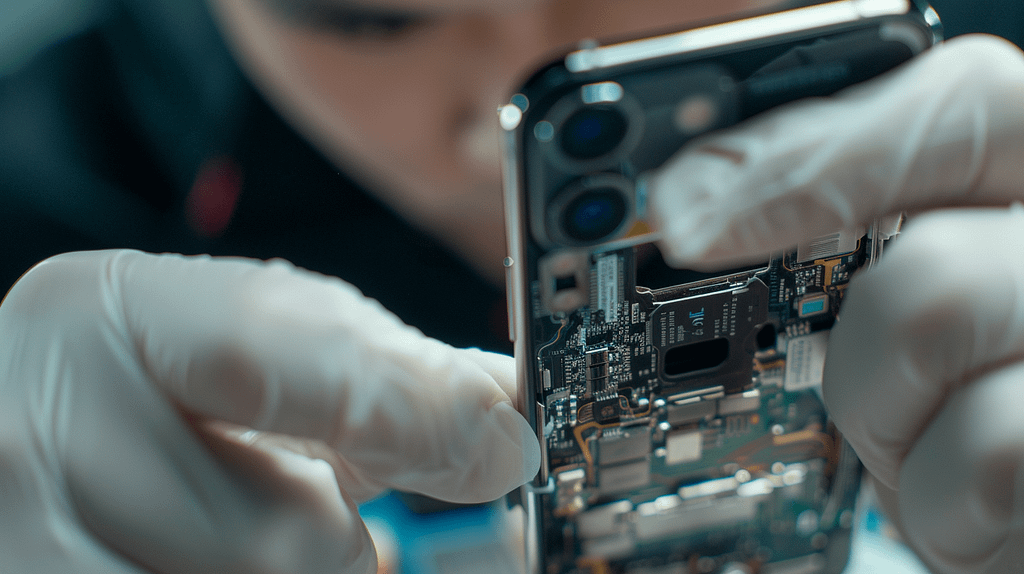
Accessing Internal Components
To access the internal components of your iPhone 12 for repair, proceed by carefully detaching the screen from the chassis following the removal of screws and brackets.
Once you have separated the screen, you can then focus on addressing the ear speaker. Before starting the repair process, it’s important to check for any sound issues and confirm Face ID compatibility post-repair.
Here is a breakdown of how to access the internal components:
| Step | Description | Tools Required |
| Remove Screws and Brackets | Unscrew all screws and detach brackets holding screen | Screwdriver |
| Disconnect Cables | Safely detach battery and screen cables | Opening tools |
| Remove Logic Board Bracket | Take out the top logic board bracket and connectors | Pry tool |
| Pry Off Ear Speaker Connector | Gently disconnect the ear speaker connector | Opening tools |
| Separate Screen | Carefully pull the screen away from the device | Guitar pick, Spudger |
Replacing Iphone 12 Ear Speaker
When replacing the iPhone 12 ear speaker, make sure you have the necessary tools and follow precise steps for a successful repair process. If you’ve encountered sound issues, this repair is important for restoring audio functionality while maintaining Face ID compatibility.
Lay the screen face down on a soft surface and unscrew the ear speaker carefully. Soften the adhesive and free the flex cable using a heat gun. Solder the new ear speaker flex into place ensuring a secure connection.
After completing the replacement, it’s vital to test both sound quality and Face ID functionality to guarantee a successful repair. Take your time and follow each step meticulously to ensure the ear speaker functions correctly without compromising other features.
Completing Ear Speaker Repair
To complete the iPhone 12 ear speaker repair, make sure all flex cables are securely reconnected before testing the phone’s functionality.
Confirm Face ID functionality and sound quality are intact by following these steps:
- Double-check all flex cables for proper connection.
- Conduct sound testing to verify ear speaker functionality.
- Test Face ID to guarantee it’s working correctly post-repair.
- Verify that the ear speaker is producing clear sound.
- Validate that the phone’s features are fully operational before finalizing the repair.
Frequently Asked Questions
Can I Use a Hairdryer Instead of a Heat Gun to Soften Adhesive?
Yes, you can use a hairdryer instead of a heat gun to soften adhesive for iPhone 12 repair. Apply heat evenly and cautiously, maintaining a safe distance to avoid overheating. Monitor temperature closely to prevent damage.
Is It Necessary to Disconnect the Battery Before Starting the Repair?
Before starting the repair, it’s vital for battery safety to disconnect it. Use the proper repair tools and follow detailed instructions. Never skip this step as it guarantees a safe repair process and prevents potential damage.
Can I Skip Soldering and Just Replace the Ear Speaker Unit?
You can’t skip soldering when replacing the ear speaker on your iPhone 12. It’s essential for proper functionality. Consider professional repair for delicate tasks like this to guarantee Face ID compatibility and avoid potential issues post-repair.
What Do I Do if the Face ID Stops Working After the Repair?
If Face ID stops post-repair, verify ear speaker functionality. Reconnect all cables securely. Confirm sound and Face ID. If issue persists, review repair steps. Attention to detail is essential for successful repair. Test thoroughly for functionality.
Is It Safe to Use Rubbing Alcohol to Soften the Adhesive?
Using rubbing alcohol to soften adhesive is generally safe, but consider alternative adhesive solvents for delicate components. Take precautions to prevent liquid intrusion and guarantee complete evaporation before continuing repair to avoid damage.
Conclusion
Congratulations on successfully repairing your iPhone 12 ear speaker while keeping Face ID functionality intact.
By ensuring your ear speaker is in working order, you’re maximizing the utility and enjoyment of your iPhone.
Keep up the good work in maintaining and repairing your valuable device!

