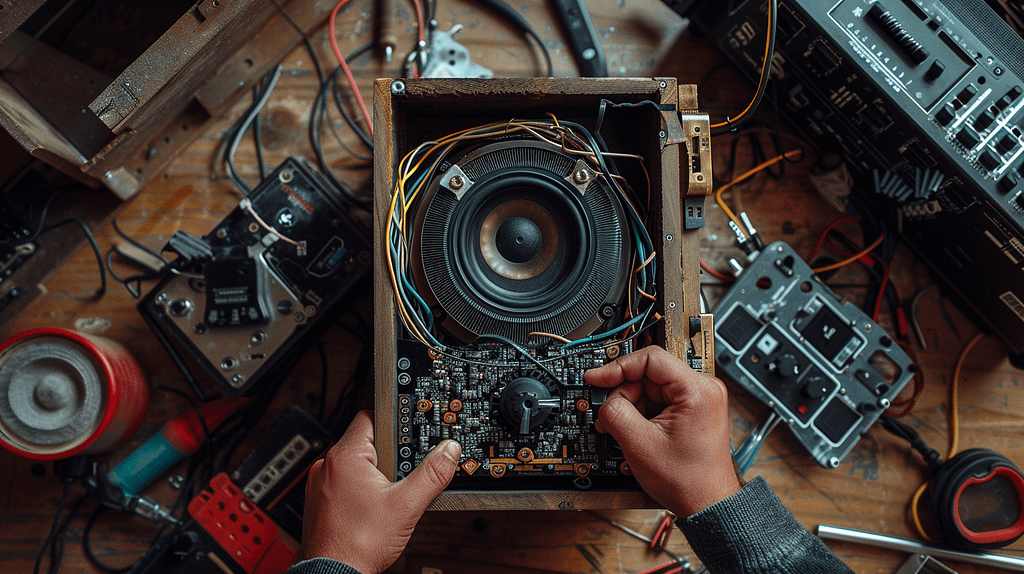
Revive speakers with DIY repair by replacing a broken rubber surround with adhesive options like white glue. Use a screwdriver to carefully extract the speaker and replace the surround with one from a donor speaker.
Apply rubber adhesive generously for a secure seal and Fevicol glue for added rigidity. Patience is key as the repaired speaker needs 24 hours to dry before reassembly. Test for full functionality to guarantee successful restoration.
Revitalizing speakers can be a satisfying process with basic tools and materials, opening up the potential for enhanced audio quality and longevity.
Key Takeaways
- Identify speaker issue like jarring sound.
- Inspect for damage such as a broken rubber surround.
- Use donor speakers for spare parts like rubber surrounds.
- Apply generous rubber adhesive for a secure seal.
- Exercise patience and allow for sufficient drying time before reassembly.
Issue Identification and Repair Decision
Upon discovering that the Bose Companion 2 speaker was producing a jarring sound and upon inspection revealing a broken rubber surround with pieces falling apart, the decision to proceed with a DIY repair was made. Troubleshooting tips indicated a need for speaker maintenance and DIY solutions.
Repair techniques were sought to address the issue, applicable not only to this model but various small speakers. The repair involved the careful removal of screws from the speaker corners, extracting the speaker from its enclosure, and using a donor speaker’s rubber surround.
Trimmed and measured to fit, the surround was generously coated with rubber adhesive for sealing. Attention to detail was vital, ensuring a successful repair that would restore the speaker to its original working condition.
Read Also: Fix My Speaker – Remove Water from Speakers in 1 min 14 sec
Repair Materials and Tools Needed
To successfully undertake the repair process for the Bose Companion 2 speaker, specific repair materials and tools are essential.
- Adhesive Options:
- White favorite glue required for initial bonding.
- Fevicol SR, a rubber-based adhesive chosen for flexibility and durability.
- Donor Speakers:
- A donor speaker is necessary for spare parts like the rubber surround.
- Repair Tools:
- A screwdriver is essential for speaker disassembly.
- Application Techniques:
- Generously apply rubber adhesive for a secure seal.
- Utilize a normal Fevicol glue for added rigidity.
These materials and tools, along with precise application techniques, are vital for a successful speaker repair.
Step-by-Step Repair Procedure
For the successful repair of the Bose Companion 2 speaker, the step-by-step procedure must be meticulously followed to guarantee the restoration of functionality. Begin by removing screws from the speaker corners to extract it from the enclosure.
Utilize a donor speaker’s rubber surround, trimming and measuring it to fit precisely. Generously apply rubber adhesive to seal the surround, ensuring proper adhesion. Additionally, use normal Fevicol glue for added rigidity, allowing sufficient drying time for best results.
Seal the edges with extra rubber adhesive for a secure fit. Exercise patience throughout the process for a successful repair. After letting the repaired speaker dry for 24 hours, reassemble it into the enclosure, secure it with screws, and test its functionality for complete speaker maintenance and audio restoration.
Frequently Asked Questions
How Can I Prevent the Rubber Surround From Breaking in the Future?
To enhance speaker longevity, prioritize rubber maintenance. Prevent future damage by considering DIY solutions like applying rubber protectants regularly. This proactive approach safeguards the integrity of the rubber surround, ensuring the sustained performance of your speakers.
Can I Use a Different Type of Adhesive for the Repair?
When considering repair alternatives for broken rubber surrounds on speakers, exploring alternative adhesives beyond rubber-based options like Fevicol SR can be beneficial. Evaluating different adhesive types for compatibility and durability may enhance the repair process.
What Should I Do if I Accidentally Apply Too Much Adhesive?
If excessive adhesive is applied during speaker repair, promptly clean the affected areas using a suitable solvent. Gently remove excess adhesive without damaging speaker components. Utilize troubleshooting techniques to address repair mistakes, ensuring the speaker’s peak functionality.
Is It Necessary to Use a Donor Speaker for Parts?
Speaker compatibility is essential in repair. Donor speakers provide necessary parts for successful repairs. While alternatives exist, sourcing parts from compatible speakers guarantees precise fit and functionality. Repair techniques demand attention to detail for best results.
Can I Test the Speaker Before the Full 24-Hour Drying Time?
Testing the speaker before the full 24-hour drying time is not advisable as it may compromise the adhesive bond. Allowing the recommended drying period guarantees proper adhesion and longevity of the repair. Patience during this critical phase ensures successful restoration of the speaker.
Conclusion
To sum up, the DIY repair method for reviving speakers with damaged rubber surrounds is a cost-effective and practical solution for audio equipment maintenance.
By following the step-by-step procedure outlined in this article and employing patience and precision, individuals can successfully restore functionality to their speakers.
This repair process is like a carefully orchestrated symphony, where each meticulous step contributes to the harmonious restoration of sound quality.

